
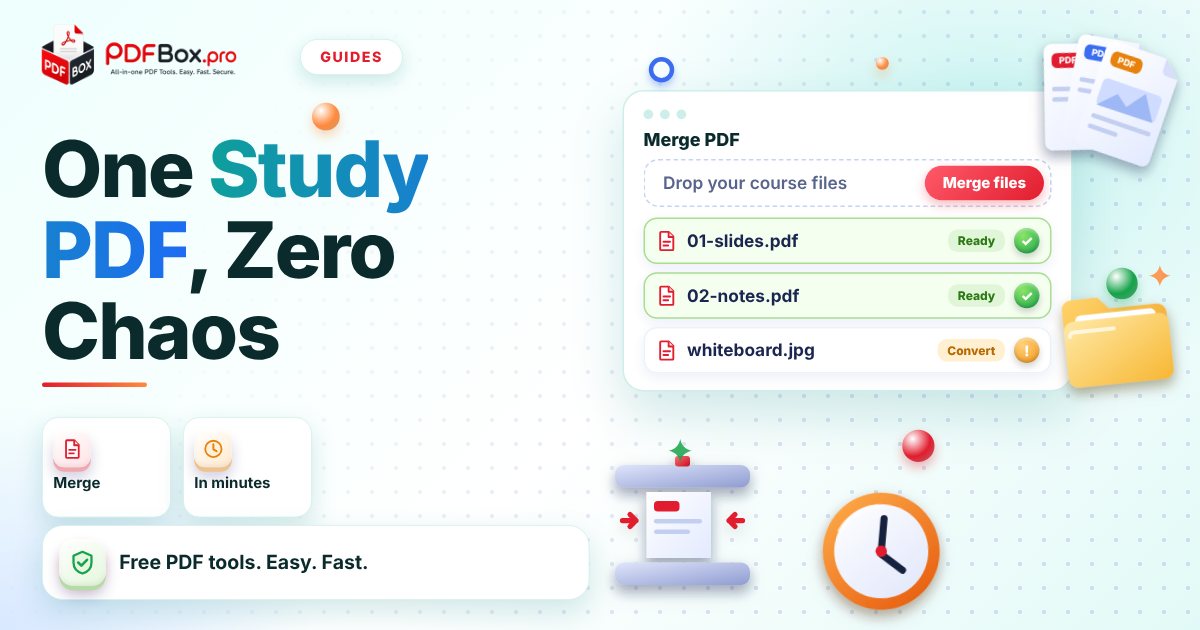
It's the week before exams. Your slides live in one folder, the professor's handouts in your email, and the photo of the whiteboard is somewhere in your camera roll between a sandwich and a sunset. Studying from that mess means opening six files, losing your place in all of them, and wondering if you skipped a chapter. The fix is boring in the best way: one PDF per course, in the right order, with page numbers. It takes maybe fifteen minutes, and it pays you back every single study session. Here's the routine, step by step, using free PDFbox tools.
Why is one study PDF better than a folder of files?
A folder makes you decide what to open next. A single PDF just keeps going. You scroll, you search, you see how week 3 connects to week 8, and you never wonder whether the file you needed was the one you skipped.
It also travels well. A PDF keeps its layout on any device, so the slide that looked right on your laptop won't fall apart on your phone during a bus ride. And one file is far easier to share with a study partner than twelve attachments.
What should you gather first?
Before touching any tool, do a five-minute roundup. Make a folder for the course and drop in everything you might study from. Name files so they sort in the order you want, like 01-intro, 02-cells, 03-genetics. Future you will be grateful.
Don't worry about perfection. If a file is a bit messy, a rough scan or a half-finished set of notes, include it anyway. You can always cut pages later, but you can't study from a file you left behind. Also check that you're only using material you're meant to share: your own notes and what your course provides.
Typical ingredients:
- Lecture slides (usually PowerPoint)
- Typed notes (usually Word)
- Handouts and past papers (usually already PDF)
- Photos of whiteboards or textbook pages (usually JPG)
How do you turn slides and notes into PDFs?
Merging works best when everything is already a PDF. Slides first: run each deck through PPT to PDF so every slide becomes a page. Typed notes can do the same trip through Word to PDF.
One small tip: if your slides have speaker notes you care about, check the result and decide whether you need them. If not, great, you've got clean slide pages. Photos can skip this step entirely, because the image-friendly merge tool below accepts them directly.
How do you merge everything into one file?
Open Merge PDF, add your files, and put them in the order you named them. Download the combined file and you have the first draft of your study PDF.
If some of your material is photos, use Merge JPG and PDF instead so the images and PDFs land in the same file. Either way, resist the urge to be clever about order now. You'll fix it in the next step, when you can see the pages.
Try it now: Merge PDF
Free, quick, and nothing to install. Open Merge PDF →
How do you put the pages in a sensible order?
Now you can see everything at once. Open Organize PDF and scan the page thumbnails. This is where you drag the review sheet to the front, move the formula page next to the chapter it belongs to, and pull the past paper to the very end.
A rule that works for many students: theory first, practice last. Slides and notes up front, handouts in the middle, past papers at the back. When you're tired at 11 pm, you'll want the practice questions right where you can find them.
What should you cut out?
A study PDF should be dense with useful pages, not stuffed with every title slide and blank page. Be ruthless in a kind way. Title slides, repeated agenda pages, a blank back of a scanned sheet: these just slow you down.
If you have a long handout and only chapters 4 to 6 are on the exam, Extract PDF Pages lets you pull out just those pages before merging. Do that earlier in the routine if the handout is huge, so the merged file stays a manageable size.
A good test: would you be annoyed to scroll past this page for the tenth time? If yes, remove it with Remove PDF Pages, or leave it out of the merge in the first place. Keep a copy of the full version somewhere, just in case the professor says "it's all in the appendix" on the last day.
Why add page numbers?
Because the page numbers from the original files no longer match. Slide 14 of one deck is now page 87 of your study PDF, and your friend's "look at page 23" means nothing if your numbering differs.
Run the finished file through Add Page Numbers and you get one consistent sequence. Then you can write "p. 112 – mitosis diagram" on a sticky note, and your study group can say "page 40" and everyone lands in the same place.
What are the common mistakes to avoid?
A few traps show up again and again:
- Merging before checking orientation. A sideways photo page is annoying every single time you scroll past it. Use Rotate PDF to straighten pages first.
- Keeping every file version. Delete or rename drafts so you don't merge
notes-finalandnotes-final-2by accident. - Making one giant PDF for all courses. One per course keeps things searchable and easy to share.
- Forgetting to save the order. Keep your numbered file names so you can rebuild the PDF in two minutes when the professor posts new slides.
- Uploading anything highly sensitive. As with any website, avoid uploading documents with private personal information.
How do you actually study from the finished PDF?
A tidy file only helps if you use it, so build a few habits around it. Open it in the PDF Viewer when you want a quick look without installing anything, and use your reader's search box to jump straight to a term like "osmosis" instead of flipping through fifty pages.
If your eyes are tired, the PDF to Speech tool can read a PDF aloud while you wash dishes or walk to class. Listening won't replace working through practice questions, but it's a nice way to revisit a chapter you only half remember.
Then do the real work: pick a chapter, close the file, and try to write down what you remember. Open the PDF only to check. The point of the study PDF is to make that loop frictionless, so the only thing left to struggle with is the material itself.
Can you keep it updated during the semester?
Yes, and this is where the numbered file names pay off. When a new lecture arrives, convert it, then add it to the merge list in the right slot and run Merge PDF again. A rebuild takes a minute, not an evening.
Some students build a fresh version every Sunday and call it "Week 6 edition". It sounds silly until you realise you've been quietly revising all term.
Frequently asked questions
How do I combine lecture slides and PDF handouts into one file?
Convert the slides to PDF with PPT to PDF, then add all the PDFs to Merge PDF in the order you want. If you also have photos, use Merge JPG and PDF so images and PDFs end up in the same file.
How do I change the order of pages in a PDF?
Open the file in Organize PDF, drag the page thumbnails into the order you want, and download the reordered PDF.
Should I make one PDF per course or one for everything?
One per course is usually easier. It keeps the file smaller, makes searching quicker, and lets you share exactly what a study partner needs.
Back to all posts